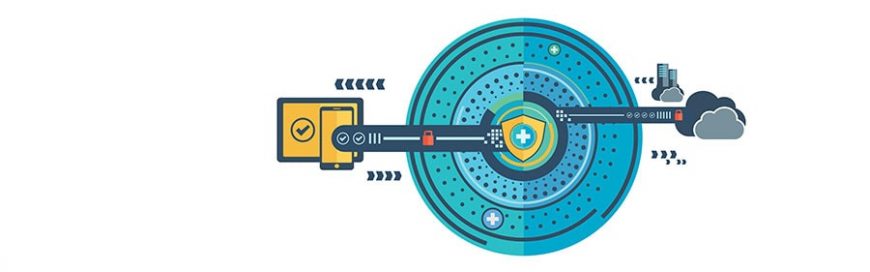
Pranksters, malicious attackers, extremists — hackers come in different forms, but they all have one thing in mind: compromising your online privacy and security. Some of them specialize in hacking social media, but don’t fret; there are several things you can do to protect your Facebook or Twitter account.
Lockscreens exist for a reason
Make sure all your computing devices lock the moment you stop using them. This way, you are safe from the simplest hack of all: someone opening a browser on your computer that has your social media login saved. As long as your password isn’t your birthday or anniversary, you’ll be forcing hackers to work for access to your account.
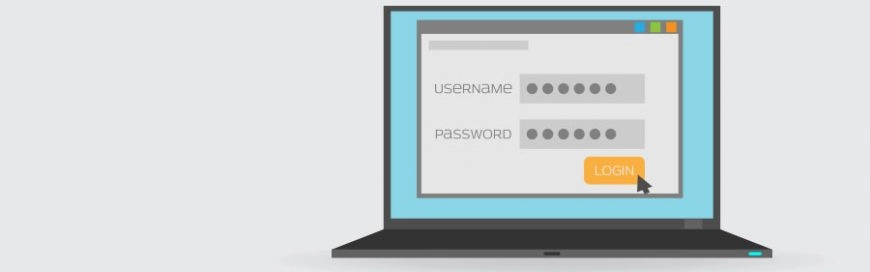
Strong passwords are never out of fashion
Unlocking your phone may be limited to a six-digit passcode, but you’ll need something much more complicated for your account password. The first thing you’ll need to do is create a password that isn’t used for any other account. Because data breaches have become such a regular occurrence, hackers probably have a long list of your favorite passwords from other websites and platforms.
In this case, it is best to use a password manager like an app or online service that allows you to generate and retrieve complex passwords.
Another thing you can do is enable something called two-factor authentication, which requires you to type in a secondary code sent to your phone. Even if hackers have your password, they won’t be able to log in without your phone.
Make use of social media features
Facebook offers functions that help you keep tabs on who’s accessing your account and from
where. To use this feature, click the down arrow in the upper right corner of your Newsfeed and select Settings. Then click Security and Login to get more information. If you sense an imposter, click the right-hand icon to give you the option of logging out remotely or reporting the person.
From there, turn on Get alerts about unrecognized logins to be notified via Facebook, Messenger, or email if someone is logged into your account from an unrecognized browser. Unfortunately, Twitter doesn’t have the same option (that makes the two-factor authentication extremely necessary).
While it may be difficult for a hacker to barge into your Facebook or Twitter account through a third-party service that you have given access to your profile, it’s still advisable that you check what you have approved.
- Facebook: Go to Settings > Apps and Websites to view and manage outside service with access to your account
- Twitter: Go to Settings and Privacy > Apps to check and edit the list
Last, be sure to check the permissions mobile apps like Facebook and Twitter have on your smartphone or tablet.
- Android: Go to Settings > Apps > tap the icon in the upper right and then tap App permissions
- iOS: Go to Settings > Privacy to manage which service can access which parts of your phone
Less personal info, fewer problems
These steps are just the beginning of what you should be doing. The next thing you should consider is limiting the personal data you input into your social media accounts. If you have to put a ton of information, then be sure you read this blog from the top.
With a little practical knowledge, you can prevent Facebook and Twitter hackers from doing what they do. Cybersecurity is a sprawling issue and social media privacy is such a small sliver of what you need to stay on top of. For 24/7 support, call our team of experts today.